If you’ve ever dreamed of turning your yard into a lush, productive garden, raised beds are one of the smartest ways to start. They’re not only beautiful and tidy, but they also make gardening easier — better soil, fewer weeds, and far less strain on your back. The catch? Walk into any garden center and you’ll see raised bed kits with price tags that can make you want to retreat back indoors.
The good news: you don’t need to spend hundreds of dollars to get the same benefits. With some creativity, a few tools, and budget-friendly materials, you can build raised garden beds that are just as functional — and in many cases, more stylish — than the expensive store-bought versions.
In this article, we’ll explore why raised beds are such a worthwhile home garden idea, what materials you can use on a budget, and simple DIY methods that anyone (yes, even beginners) can try.
Why Raised Garden Beds Are Worth It
Before diving into the “how,” it’s worth asking: why choose raised beds in the first place?
- Better soil control – Fill your bed with rich soil and compost tailored to your plants, rather than struggling with rocky or poor-quality ground.
- Improved drainage – No more soggy roots. The elevation allows water to drain more evenly.
- Less bending and kneeling – A higher bed means less back strain, making gardening more enjoyable.
- Higher yields in small spaces – Concentrated soil nutrients and efficient spacing can actually produce more than traditional in-ground gardens.
- Pest and weed protection – Fewer weeds creep in, and you can add barriers to keep pests at bay.
- Aesthetic upgrade – Raised beds give a clean, intentional look to your garden — a bonus if you’re trying to make your outdoor space Pinterest-worthy.
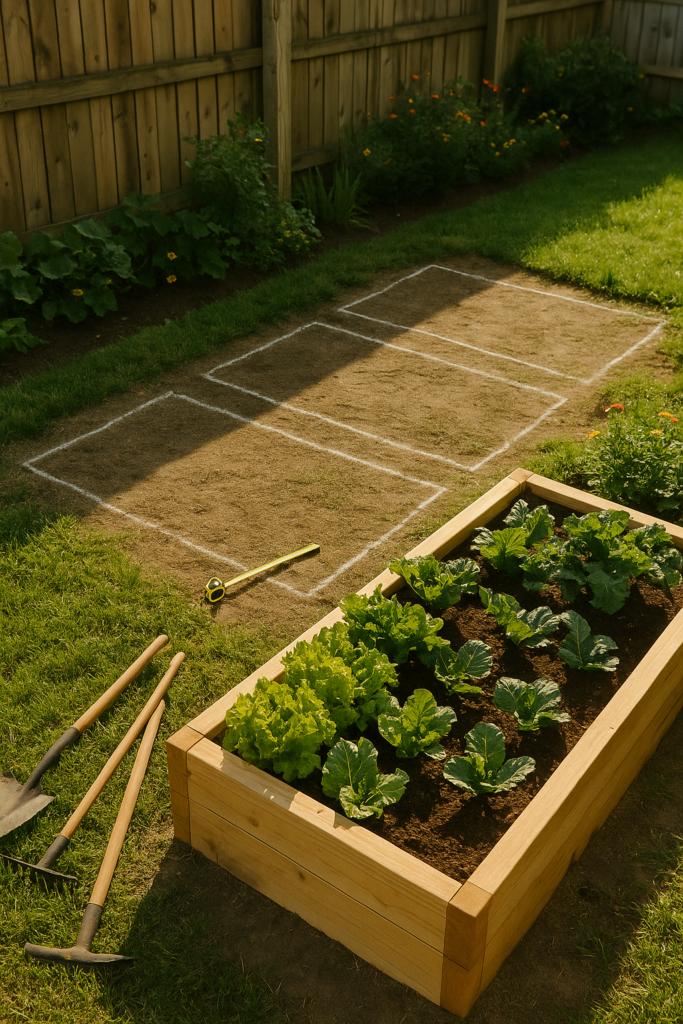
Planning Your Raised Garden Bed
A successful raised bed starts with thoughtful planning.
- Location: Choose a spot with at least 6–8 hours of sunlight per day. Close to a water source is best.
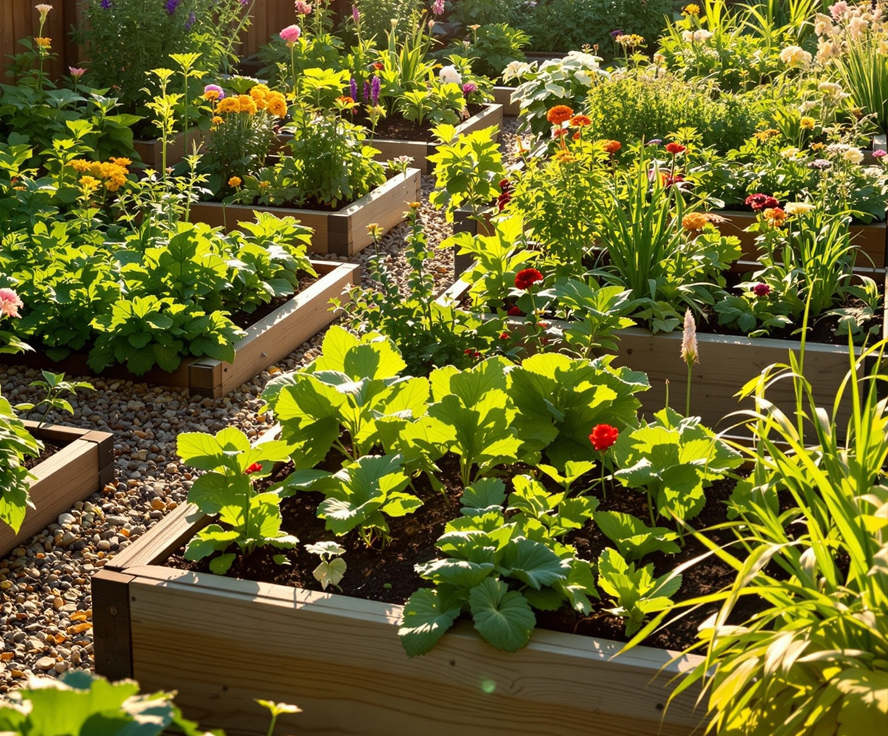
- Size: A common raised bed size is 4×8 feet — wide enough for good planting, but narrow enough to reach the center without stepping inside. Adjust based on your yard space.
- Depth: For most vegetables, 12–18 inches is ideal. Herbs and flowers can thrive in shallower beds, but deeper soil promotes stronger root growth.
If you’re a visual planner, sketching your layout can help — or simply browse Pinterest for design inspiration. Think about whether you want one large rectangle, multiple smaller squares, or even tiered levels for visual interest.
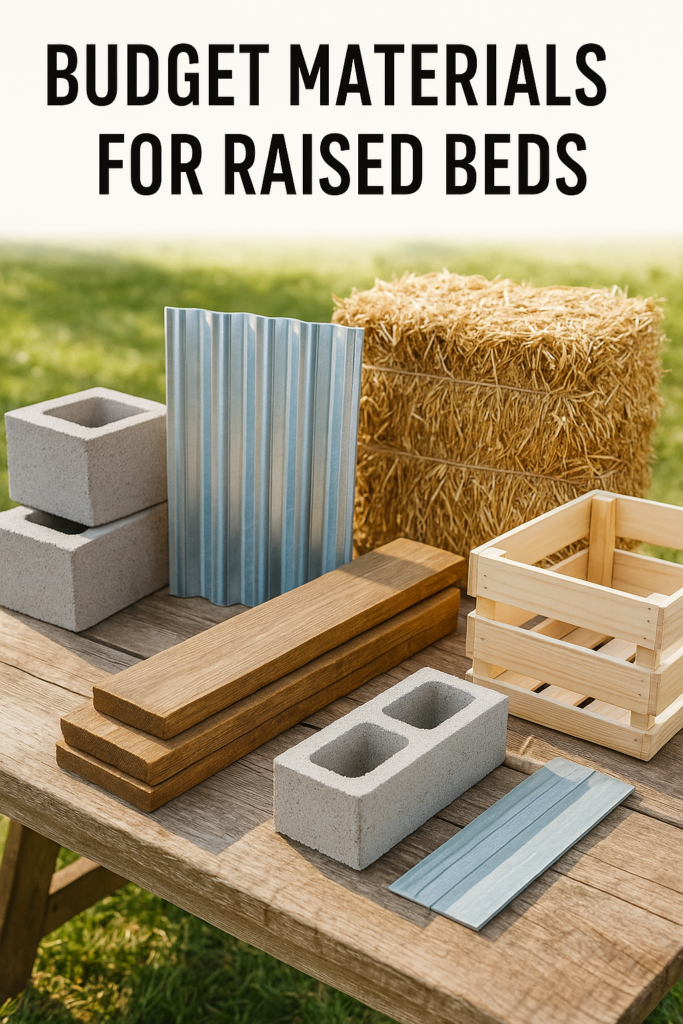
Budget-Friendly DIY Materials You Can Use
Store-bought cedar kits look nice, but they’re not the only option. Here are affordable (and creative) alternatives:
- Reclaimed Wood: Old fencing, pallets, or barn wood. Rustic, sustainable, and often free if you ask around.
- Cinder Blocks or Bricks: Easy to find at hardware stores or even secondhand marketplaces. They’re sturdy, modular, and let you expand later.
- Galvanized Metal or Stock Tanks: Gives a modern farmhouse vibe and holds up for years. Sometimes old water troughs can be repurposed at a low cost.
- Straw Bales: Temporary but brilliant. They form an instant bed and break down into compost after a season.
- Upcycled Items: Think creatively — dresser drawers, wine crates, or even an old clawfoot bathtub can become quirky raised beds.
Pro tip: Check Craigslist, Facebook Marketplace, or Habitat for Humanity’s ReStores. You’ll often find materials for a fraction of retail prices.
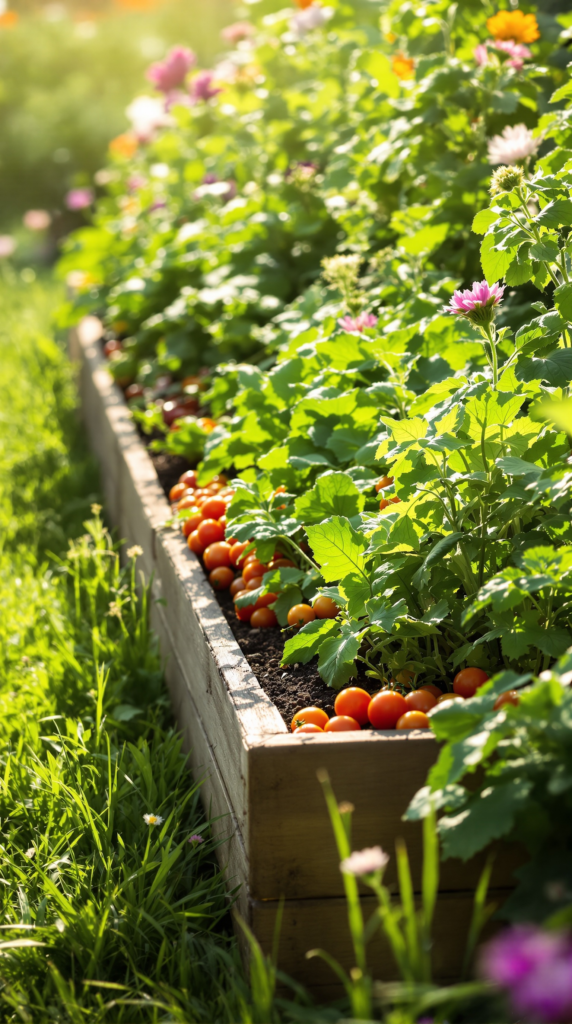
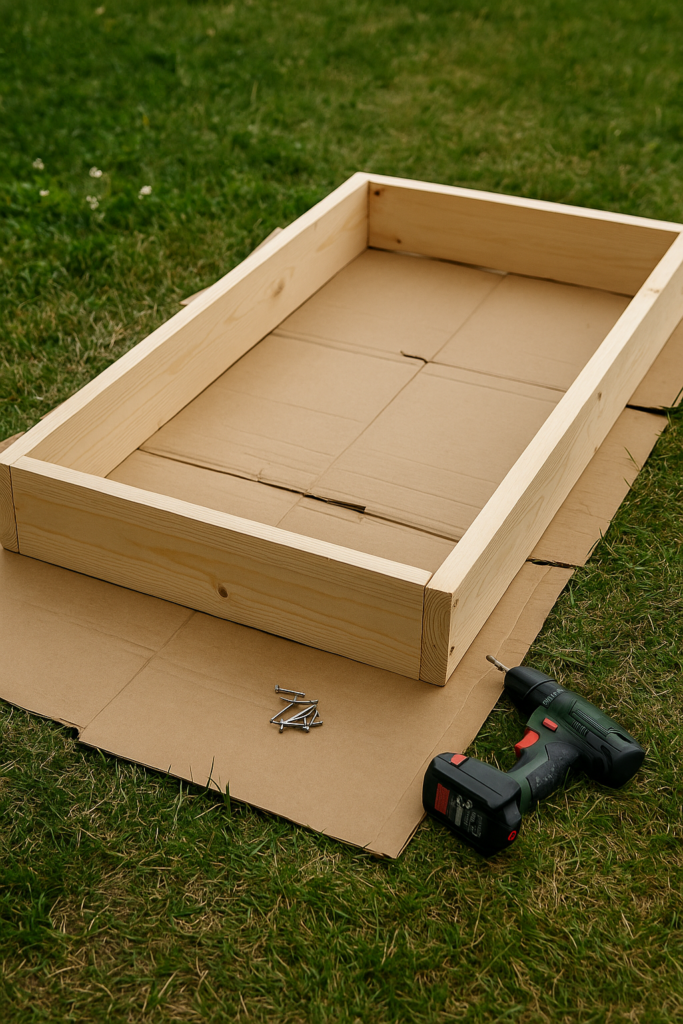
Step-by-Step: Building a Simple Wooden Raised Bed
Materials Needed:
- Four planks of untreated pine or cedar (2x12s work well)
- Deck screws or corner brackets
- Drill or screwdriver
- Landscape fabric (optional)
- Soil and compost mix
Instructions:
- Measure & Cut – Decide your dimensions (4×8 ft recommended) and cut wood if needed.
- Assemble the Frame – Use screws or brackets to secure corners. A rectangle is simplest, but you can also build squares or L-shapes.
- Prepare the Ground – Clear grass or weeds from the spot. Lay down cardboard or landscape fabric for weed suppression.
- Set the Frame in Place – Make sure it’s level.
- Fill with Soil – Mix topsoil, compost, and organic matter for a nutrient-rich base.
- Plant & Water – You’re ready to grow!
Time required: 2–3 hours. Skill level: Beginner.
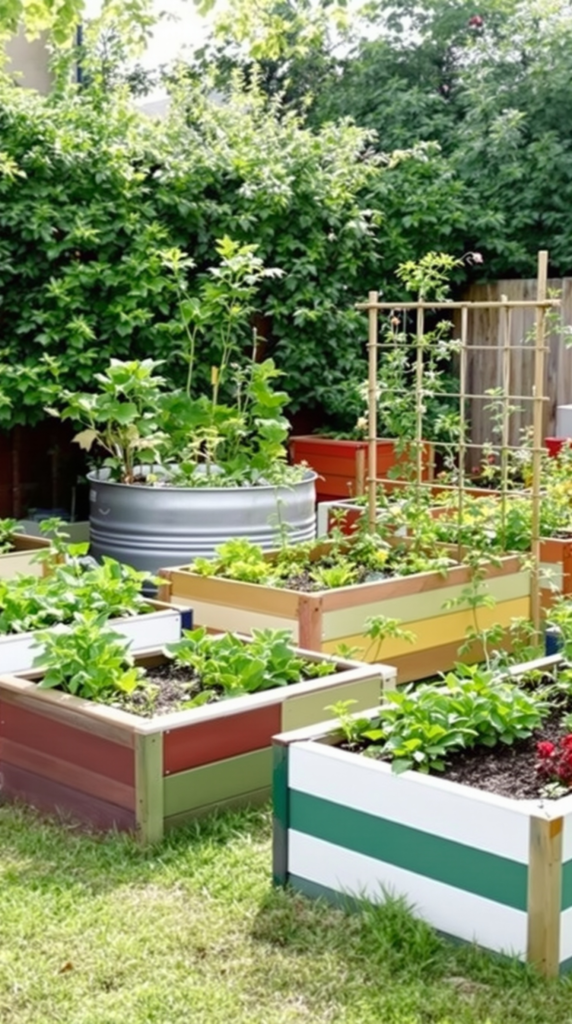
Creative Variations
Raised beds don’t have to be plain rectangles. Try these ideas:
- Tiered Beds – Stacked levels create visual drama and are perfect for small spaces.
- Corner Beds – Ideal for patios or tight yards.
- Mixed Materials – Combine wood with stone edges or metal panels for a designer look.
- Vertical Add-Ons – Attach a trellis or archway for beans, cucumbers, or flowers.
- Finishing Touches – Paint or stain wood in colors that match your home exterior or outdoor furniture.
These variations not only improve function but also make your garden more photogenic — a win if you’re sharing your progress online.
Budget Hacks & Sustainability Tips
- Free Materials: Ask local construction sites for leftover wood, or neighbors for old pallets.
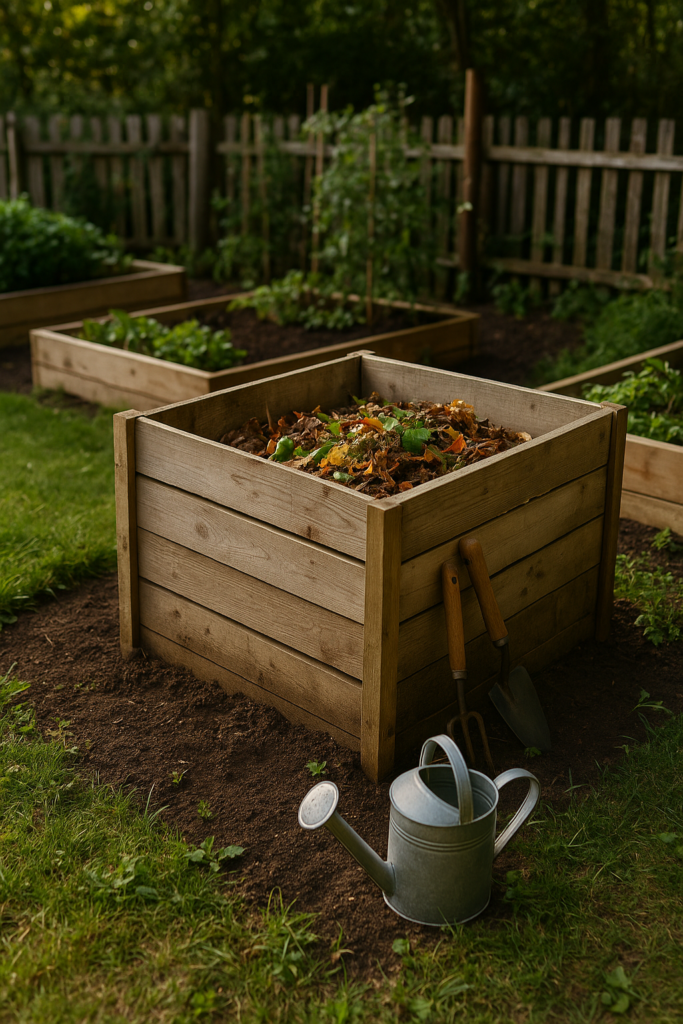
- Compost Your Own Soil: Save kitchen scraps, yard clippings, and leaves to make your own fertile soil mix.
- Extend Wood Life: Use non-toxic sealants or line beds with heavy-duty plastic to prevent rot.
- Seasonal Refresh: Each spring, top off with compost to keep soil healthy without replacing it entirely.
Conclusion
Raised garden beds are one of the most practical and rewarding home garden ideas out there. They make gardening easier, increase yields, and add beauty to your yard — all without draining your wallet. Whether you repurpose wood, stack cinder blocks, or build your own from scratch, the DIY route opens up endless creative possibilities.
So grab some tools, gather your materials, and start small. Once you see how simple and satisfying it is, you may find yourself planning a whole backyard full of raised beds.
More affordable garden ideas: 10 Affordable Home Garden Ideas for Small Spaces